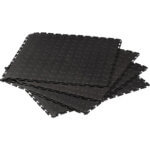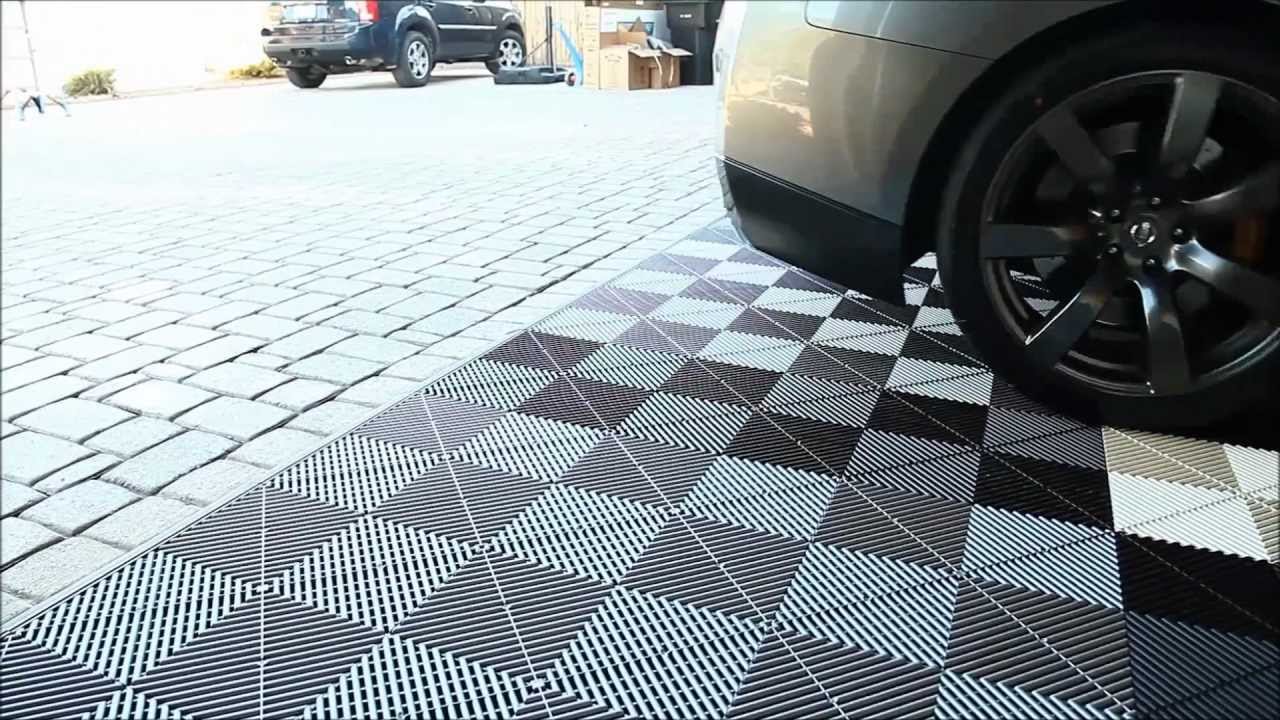
Plastic floor tiles have gained immense popularity in recent years due to their versatility, durability, and affordability. Whether you are renovating your home or upgrading your commercial space, installing plastic floor tiles can provide a stylish and practical solution.
In this article, we will delve into the installation process of plastic floor tiles and provide valuable insights on how to effectively maintain them. From preparing the surface to cleaning and protecting your investment, we have got you covered.
I. Installation of Plastic Floor Tiles:
1. Prepare the Surface:
Before starting the installation process, it is crucial to ensure that the surface is clean, dry, and level. Remove any existing flooring, debris, or adhesives. Repair any cracks or imperfections to ensure a smooth and even surface.
2. Measure and Plan:
Accurate measurements are essential to determine the quantity of plastic floor tiles required. Plan the layout, considering the direction and pattern of the tiles. This step will help you visualize the overall design and ensure a seamless installation.
3. Apply Adhesive:
Using a trowel, apply adhesive to the surface in small sections. Spread the adhesive evenly and avoid excessive amounts that may seep through the gaps between the tiles. Follow the manufacturer’s instructions on the recommended adhesive.
4. Lay the Tiles:
Begin laying the plastic floor tiles from the center of the room, working towards the edges. Press each tile firmly into place, ensuring a uniform and snug fit. Use tile spacers for consistent spacing between tiles. Trim tiles as needed for edges and corners.
5. Allow for Setting Time:
Once all the tiles are laid, allow them to set for the recommended time as per the adhesive instructions. This step is crucial to ensure proper bonding and stability.
6. Apply Grout (Optional):
If desired, apply grout between the tiles to provide a finished look and added durability. Choose a grout color that complements the tiles. Follow the grout manufacturer’s instructions for mixing and application.
II. Maintenance of Plastic Floor Tiles:
1. Regular Cleaning:
Maintaining the cleanliness of your plastic floor tiles is essential for their longevity. Sweep or vacuum the floor regularly to remove dust and debris. Use a damp mop with a mild detergent solution to clean the tiles. Avoid using abrasive cleaners or harsh chemicals that may damage the surface.
2. Stain Prevention:
To prevent staining, promptly clean up any spills or stains. Wipe spills immediately with a soft cloth or sponge and mild detergent. Avoid using abrasive scrub brushes or harsh chemicals that may scratch or discolor the tiles.
3. Protecting the Surface:
Place doormats at entry points to prevent dirt and grit from being tracked onto the tiles. Use felt pads or furniture glides under heavy furniture to prevent scratching. Avoid dragging heavy objects across the floor to minimize the risk of damage.
4. Regular Inspections:
Periodically inspect the tiles for any signs of damage or wear. Replace any chipped or cracked tiles promptly to maintain the integrity and appearance of the floor. It is advisable to keep spare tiles for easy replacement if needed.
Plastic floor tiles offer a practical and stylish flooring solution for both residential and commercial spaces. By following the installation and maintenance guidelines outlined in this article, you can ensure the long-lasting beauty and durability of your plastic floor tiles. From proper surface preparation to regular cleaning and maintenance, taking care of your plastic floor tiles will provide you with a visually appealing and functional flooring option for years to come.
Remember, installing plastic floor tiles is a DIY project that can be tackled with proper planning and attention to detail. So, roll up your sleeves and transform your space with this versatile and cost-effective flooring solution.


