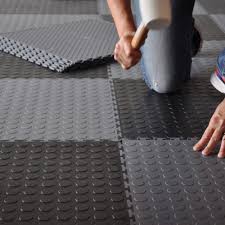
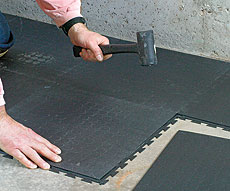
DIY Interlocking Rubber Tiles – Durable, Easy-to-Install Flooring for Any Space
Looking for a hassle-free way to upgrade your floors? Our DIY Interlocking Rubber Tiles offer the perfect blend of durability, safety, and ease of installation, making them ideal for both residential and commercial environments. Whether you’re revamping your garage, gym, workshop, or warehouse, these tiles are the ultimate flooring solution.
Crafted from high-quality rubber, these interlocking tiles are designed to withstand heavy foot traffic and resist wear and tear, ensuring long-lasting performance. The interlocking mechanism allows for straightforward, adhesive-free installation, making it a perfect choice for DIY enthusiasts.
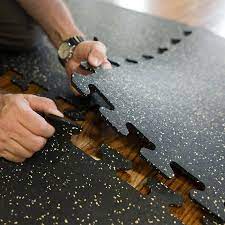
What Are DIY Interlocking Rubber Tiles?
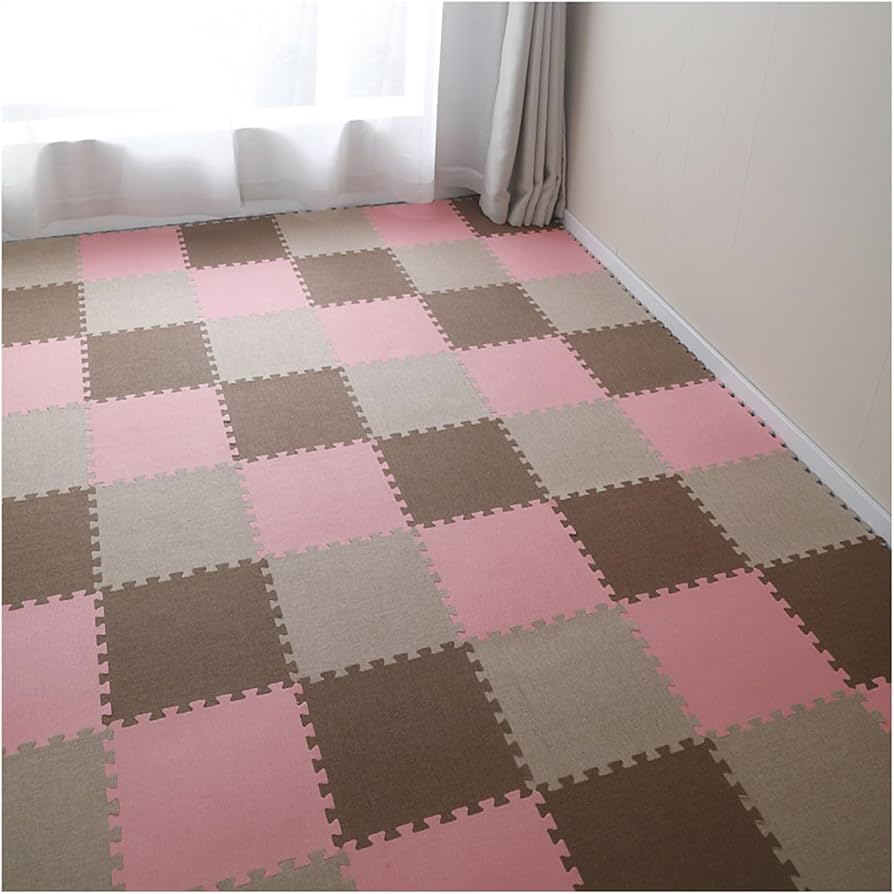
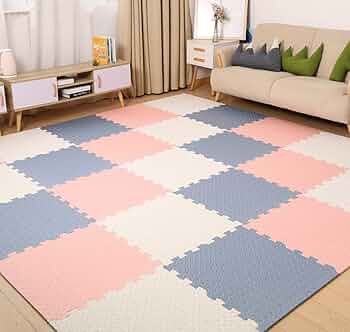
DIY Interlocking Rubber Tiles are modular floor tiles made from high-quality rubber. They are designed to fit together like puzzle pieces, allowing users to install them quickly without professional help or adhesives.
These tiles are engineered to handle heavy-duty use, offering slip resistance, and comfort underfoot. Thanks to their interlocking system, they stay in place securely while allowing for easy removal or replacement when needed.
Product Specifications of DIY Interlocking Rubber Tiles
| Specification | Details |
| Material Name | High-Grade Recycled PVC |
| Common Names | Safety Tiles, Eco-Friendly PVC Tiles, Anti-Slip Floor Mats, Heavy-Duty Puzzle Tiles, Quick-Connect Floor Tiles |
| Categories | Commercial Flooring, Gym Flooring, Garage Flooring, Industrial Safety Flooring |
| Thickness | 5mm Standard |
| What is in a Box | 4 tiles per box |
| Warranty | 1 Year Limited Manufacturing Warranty |
| Dimensions | Standard Tile Measurements |
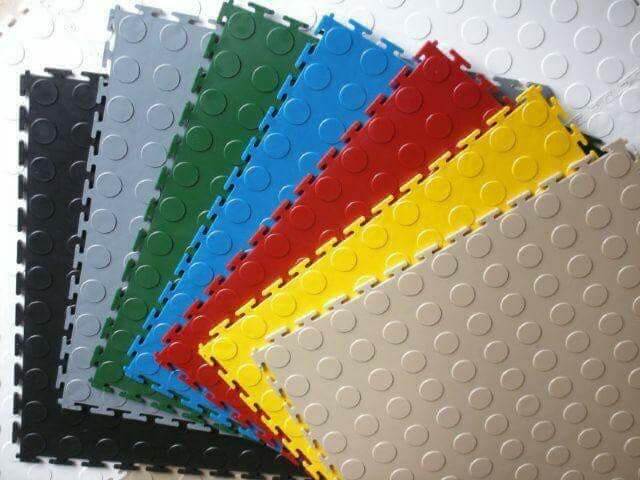
| Colours | Black, |
| Minimum Order Quantity (MOQ) | 50 Tiles |
| UV Resistance | High |
| Shore Hardness | Optimal for heavy usage |
| Rolling Weight Capacity | 35,000 kgs |
| Weight per Tile | 1.6 kgs |
| Safety Standard | EN71-1 |
| Flammability | EN71-2 |
| Fire Rating | BFI S1 |
| Anti-Slipping Rating | R10 |
| Abrasion Resistance | 400 mm³ (DIN53516) |
| Maximum Load per Tile | 5,250 kgs |
| Working Temperature Range | Suitable for varied climates |
| Water Resistance | Fully Water Resistant |
| Durability | High |
| Resistance to Acid, Moulds, and Alkali | Excellent |
| Surface | Textured for additional grip |
Benefits of Choosing DIY Interlocking Rubber Tiles
o DIY-Friendly Installation
- No specialised tools needed.
- Great for renters or businesses that move premises – easy to uninstall and relocate.
o Cost-Effective Flooring
- Long lifespan means reduced need for replacements.
o Versatile Use
- Suitable for home gyms, garages, warehouses, playrooms, schools, workshops, and more.
o Improved Safety
- Slip-resistant surface reduces fall risks.
- Cushioned support lessens strain on feet and joints.
- Insulates against cold concrete floors.
o Professional Finish
- Seamless interlocking system offers a clean, polished look.
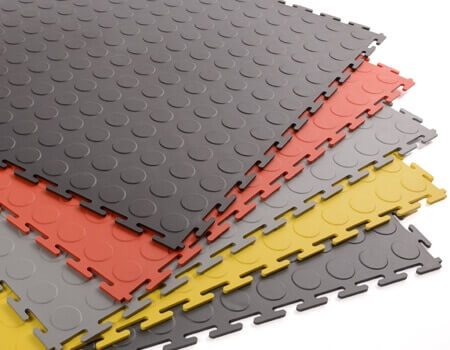
- Available in various colours, thicknesses, and surface textures.
Common Uses for DIY Interlocking Rubber Tiles
🔧 Garage Flooring
- Protects the concrete surface.
- Withstands heavy vehicles and tool drops.
- Oil- and chemical-resistant surface.
🏋️♂️ Home & Commercial Gyms
- Excellent shock absorption and slip resistance.
- Noise-reducing for weight drops and foot traffic.
🏭 Warehouse Flooring
- Withstands heavy loads from trolleys and forklifts.
- Reduces dust and improves safety.
- Comfortable underfoot for standing workers.
🛠️ Workshops & Factories
- Resists grease, oil, and chemical spills.
- Reduces fatigue for standing tasks.
🧸 Kids Play Areas
- Soft underfoot and non-slip.
- Easy to clean and rearrange as needed.
🏠 Basement & Utility Rooms
- Waterproof and mould-resistant.
- Provides insulation and reduces dampness.
Installation Guide: How to Install DIY Interlocking Rubber Tiles
Step-by-Step DIY Installation
- Prepare the Floor
Ensure the subfloor is clean, dry, and level. - Start from a Corner
Lay the first tile in one corner and build outwards. - Interlock Tiles Together
Line up the tabs and press down to snap tiles together. - Cut to Fit Edges (if needed)
Use a utility knife and straight edge to trim tiles for wall edges or corners. - Finishing Touches
Add edging strips for a smooth transition and professional finish.
No adhesive is required, and tiles can be lifted or rearranged easily.
Order Your DIY Interlocking Rubber Tiles Today!
Upgrade your space effortlessly with our DIY Interlocking Rubber Tiles. Explore our range of high-quality, durable tiles designed for easy installation and maximum performance.
Visit our website today to learn more and request a free quote.
If you’re ready to transform your space, visit our online store now to explore our collection and make your purchase.
